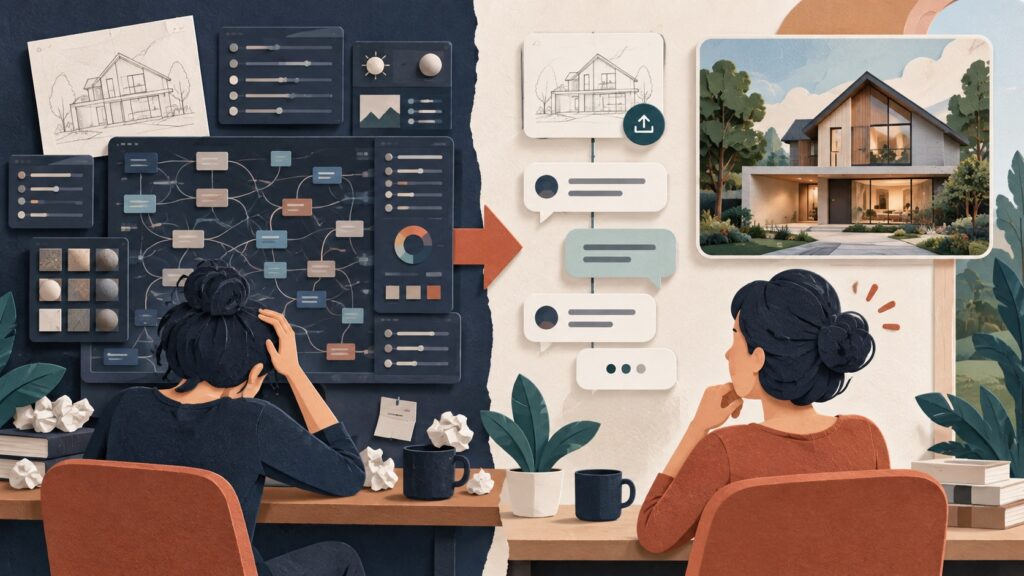
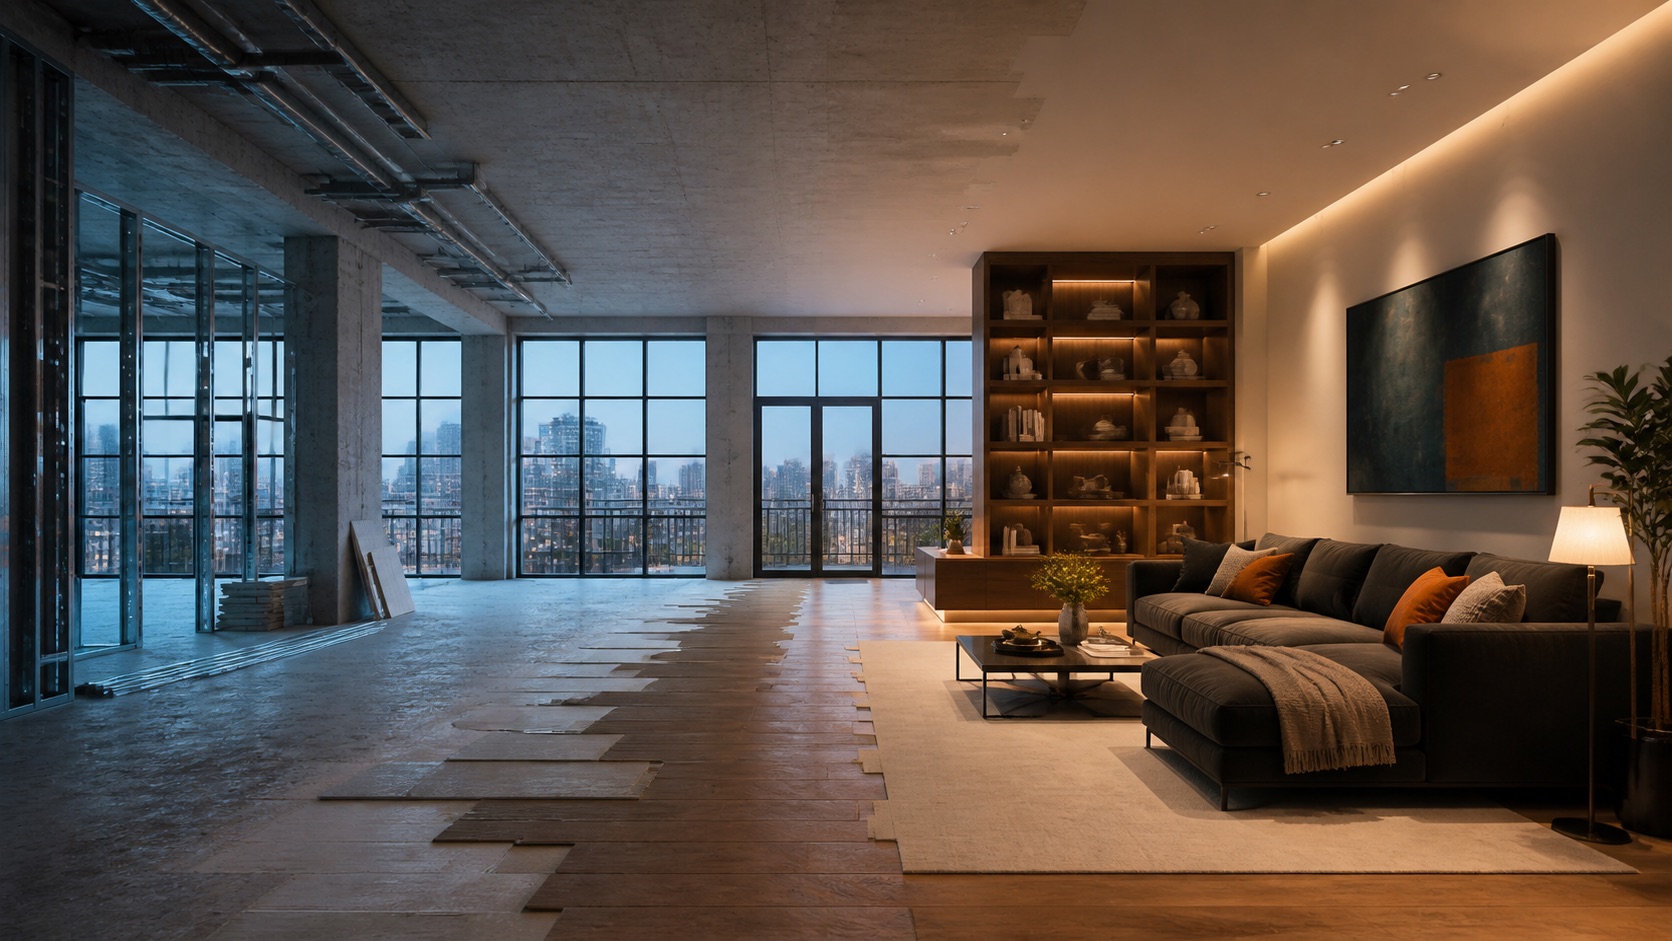
A polished property render can explain a space. A short, controlled assembly video can make that space feel built, deliberate, and ready to enter.
There is a useful format hiding in that difference: start with one finished interior image, keep the camera completely locked, and let the room assemble itself from an unfinished shell. Floors arrive. Joinery seats into place. Lights come on. Furniture settles. The final frame becomes the original image again.
This is not a generic “make my room cinematic” prompt. It is a repeatable production system for turning a single approved render into a 10-second listing asset, social clip, or presentation opener without losing the design you already signed off on.
One important caveat: one finished reference image can define the destination, but a convincing one-shot result still depends on the model’s duration and reference controls. A tool that only gives you five seconds should not be asked to show an entire renovation, furniture install, and final reveal in one rushed clip. This playbook includes a dependable two-clip fallback for that case.
The video format: a reference-locked assembly timelapse
Call the format a reference-locked assembly timelapse. The reference image is not inspiration. It is the final-frame specification.
That distinction matters. Image-to-video models are good at creating motion, but they tend to “help” by changing furniture, moving windows, inventing sunlight, or redesigning a room halfway through. For real estate, architecture, and interior work, those mistakes make an asset less useful.
A reference-locked prompt separates the scene into two buckets:
- Things that never change: the camera, room geometry, doors, windows, glazing, exterior view, structural elements, and perspective.
- Things that assemble: finishes, cabinetry, lights, furniture, textiles, plants, art, and styling.
That simple split gives the model a story to animate without giving it permission to redesign the property.
What “1 image” really means
The one image is the completed, approved final view: the still you would be happy to show a client, buyer, or guest. It is not an arbitrary empty-room image, and it should never be a collage of several angles.
Some video tools accept one reference image. Others offer optional start and end frames. In both cases, the completed reference remains the source of truth. An additional empty-room frame can help control the opening, but it must preserve the same window positions, door openings, room proportions, perspective, and exterior view. If the two images describe different rooms or use different lenses, the video will look artificial before the animation even begins.
Choose the reference before you write the prompt
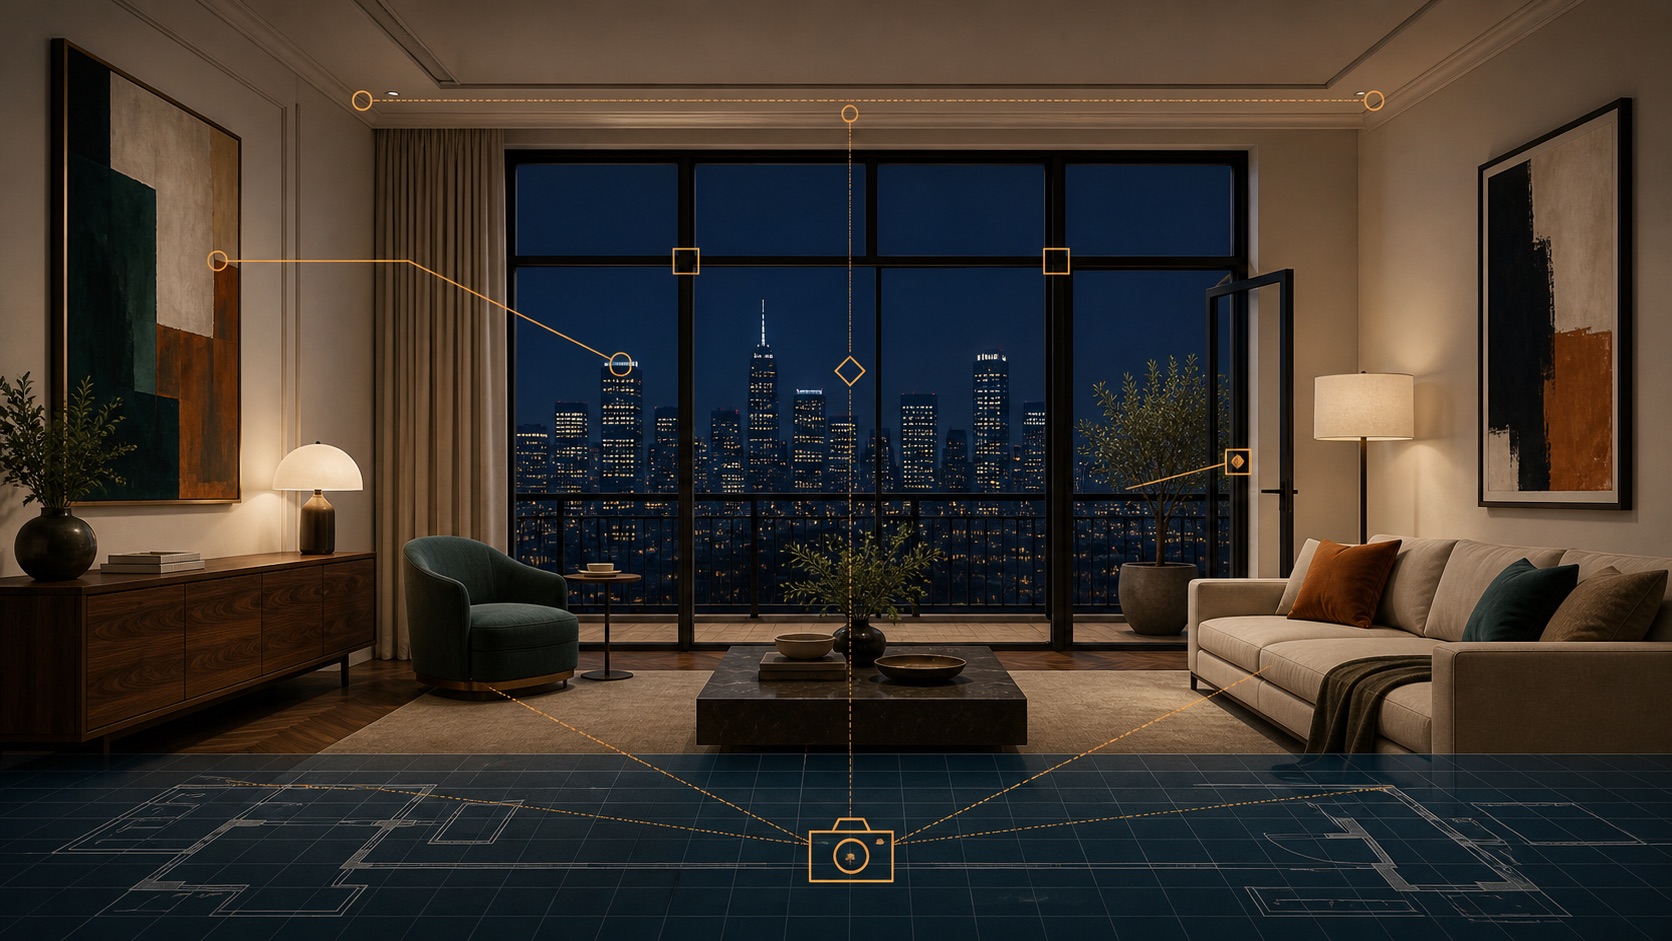
Do this five-minute check first. It prevents most of the expensive-looking but unusable outputs.
- Use one angle only. Do not feed the model a before-and-after collage, a mood board, or two rooms combined into one image.
- Lock the geometry. Count visible windows and doors. Check mullions, ceiling lines, columns, balcony rails, and the exterior view.
- Keep the lens believable. A dramatic wide angle in the final image and a normal lens in the opening image will create a visible jump.
- Separate structure from styling. The structural shell should exist from frame one; furniture and finishes should be the things that arrive.
- Use a real deliverable. For a listing or presentation, start with the approved render or a legally usable photograph—not an image whose source or usage rights are unclear.
Why this works better than a generic “before and after” video
It protects the approved image
The final still already contains the materials, palette, furniture count, and lighting mood you want to show. Treating it as a hard target reduces the chance that a generated clip drifts away from the listing, concept board, or client-approved render.
It gives motion a job
Every beat answers a visual question: What was built first? What made the space feel finished? What changed the mood? The movement is not decoration. It reveals how an empty volume becomes a lived-in place.
It can become a reusable content asset
One finished visual can support a property teaser, a short-form social post, a project-page hero, an email header, and a sales deck transition. The same format also works for hotel rooms, cafés, show homes, offices, rental units, and retail interiors.
The 5 variables you change for a new video
Keep the production logic fixed. Change only the inputs below.
| Variable | What to change | Example |
|---|---|---|
| Reference image | The exact approved final view | A staged living-room render |
| Space type | The room or property context | Hotel lobby, café, apartment bedroom |
| Starting state | The believable empty beginning | Bare architectural shell or unfinished renovation |
| Duration and crop | Where the clip will be used | 10 seconds, 16:9 for a listing page; 9:16 for Reels |
| Assembly language | The material and movement vocabulary | Board by board, tile by tile, module by module |
Everything else should remain stable. That is the point of a playbook: the quality comes from repeating the parts that work, not rewriting the whole brief every time.
The reusable 10-second prompt template
Attach the final interior image, then replace the bracketed fields below. Keep the camera and accuracy rules intact. Use this full sequence only when the model can actually create a 10-second clip with reliable image-reference control.
REFERENCE-LOCKED [SPACE TYPE] ASSEMBLY TIMELAPSE
[DURATION] seconds — [ASPECT RATIO] — 24fps

Use the attached reference image as the exact and only target for the final frame.
Match every visible material, colour, object, position, count, lighting condition,
camera angle and exterior view. Do not add, remove, restyle or substitute anything.

Create a photorealistic cinematic timelapse of this exact [SPACE TYPE].
The scene starts as a [STARTING STATE] and assembles itself smoothly until the
final frame matches the reference image exactly.

LOCKED ELEMENTS — present from frame 1 and never change:
Room proportions, structural walls, windows, doors, glazing, ceiling geometry,
columns, stairs, fixed openings, exterior view, camera position and perspective.

ASSEMBLING ELEMENTS — absent at frame 1:
Floor finishes, wall and ceiling finishes, joinery, lighting, furniture, textiles,
plants, art and styling details visible in the reference.

CAMERA — absolute lock:
Use the exact camera position, height, focal length, framing and perspective of
the reference image. Static tripod shot. Zero pan, tilt, dolly, zoom, orbit,
parallax, drift or focus change. Keep vertical lines perfectly vertical.

ASSEMBLY SEQUENCE:
0–15%: floor material assembles from back to front.
15–30%: wall and ceiling finishes resolve.
30–45%: fixed joinery, cabinetry and visible services install.
45–55%: lighting fixtures install and switch on to match the reference lighting.
55–72%: major furniture arrives and settles naturally.
72–85%: rugs, curtains, cushions and soft materials settle with realistic physics.
85–94%: plants, art and small decor place themselves accurately.
94–100%: all motion stops; hold on the completed final frame.

Every object follows a short, believable path into its final position.
No floating objects, teleporting, duplication or changes to the architecture.
If an item category does not exist in the reference, skip it naturally.

STYLE:
Premium architectural visualization, photorealistic, physically based materials,
realistic contact shadows, deep focus, smooth elegant motion, no jump cuts.
Match the reference image’s colour grade and lighting exactly.

AUDIO:
No dialogue, no music. Quiet room tone with subtle installation clicks and soft
material-settling sounds.

NEGATIVE:
camera movement, zoom, perspective drift, warped architecture, altered windows,
changing exterior view, floating objects, duplicated furniture, extra decor,
people, text, logos, watermark, flicker, stutter, jump cuts, cartoon CGI look
Why a 5-second all-in-one version often fails
Five seconds is rarely enough time for eight categories of change. When a short-duration model is asked to reach a strict end frame, it often solves the problem by dropping the sofa, rug, table, shelving, lamp, and plants into place almost at once. The final seconds can then become a static hold.
That is not a prompt-writing failure; it is a timing problem. A strong result needs visible progression. Viewers should be able to read at least three distinct phases: the room shell becoming finished, the main furniture arriving, and the small details completing the scene.
A real test: what went wrong
In one five-second test, a bare-room start and a furnished end reference were both enforced. The model preserved the general composition, but it reached the furnished state too early: the major furniture appeared together, the sequence felt abrupt, and roughly half of the clip was a static final view.
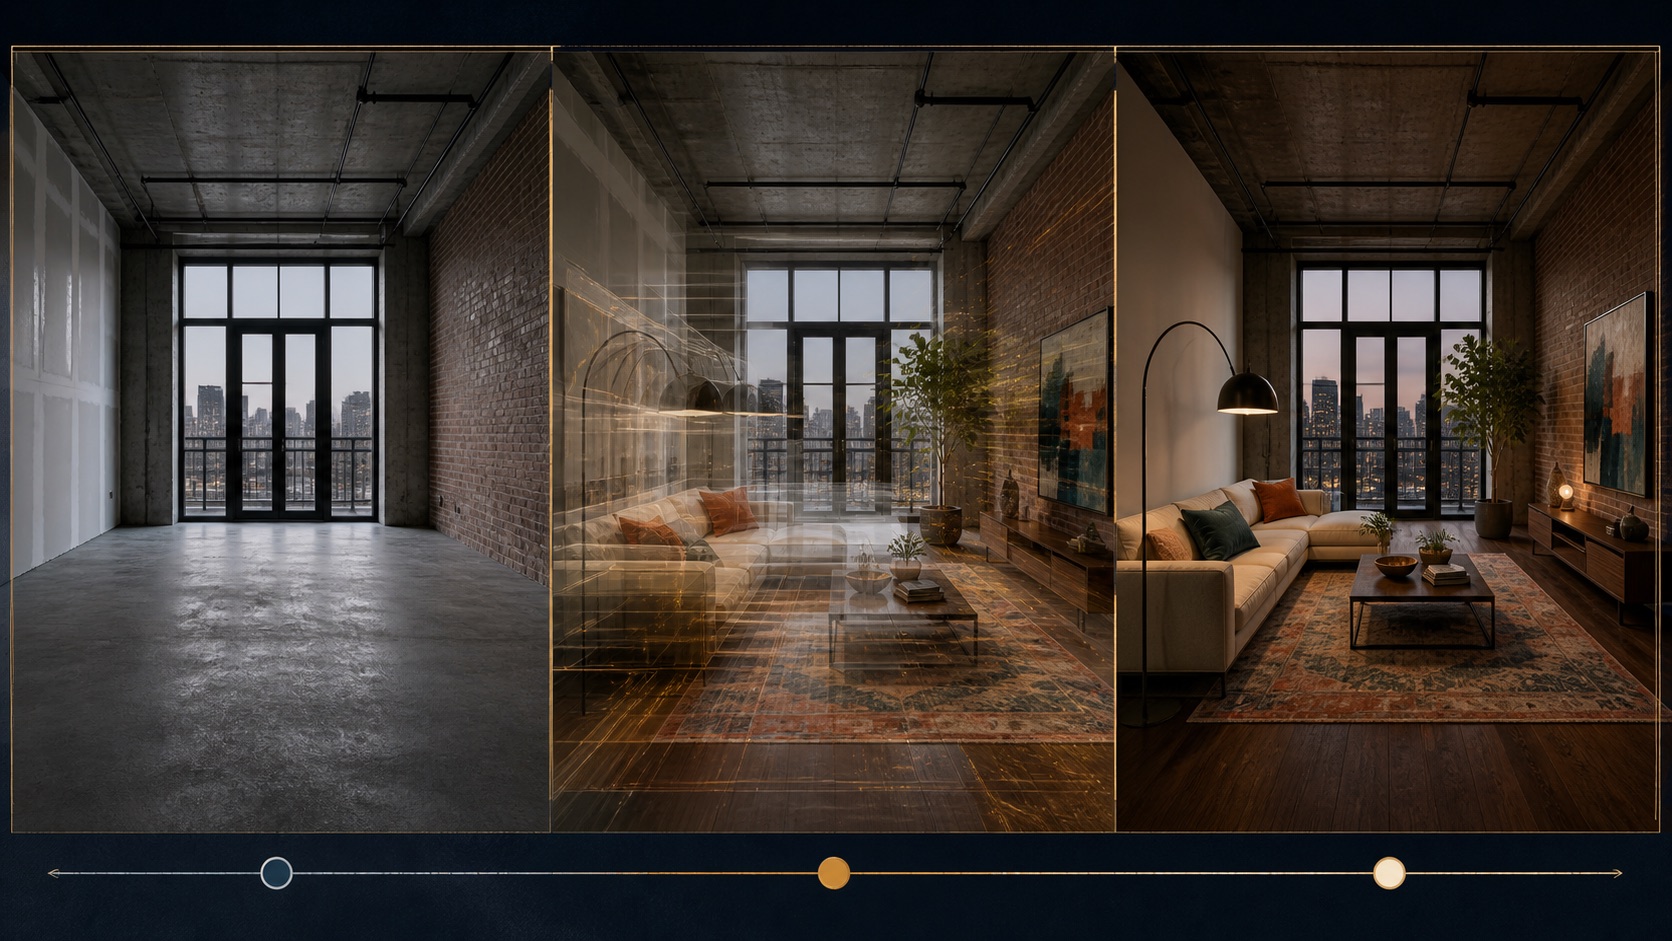
The useful lesson is simple: do not force a five-second model to tell a ten-second story. Either use a model with a true 10-second mode, or split the work into two shorter shots.
The dependable 2 × 5-second fallback
If your chosen tool only offers five-second clips, use two connected shots and join them in a simple editor. This usually gives you more control than one overcrowded prompt.
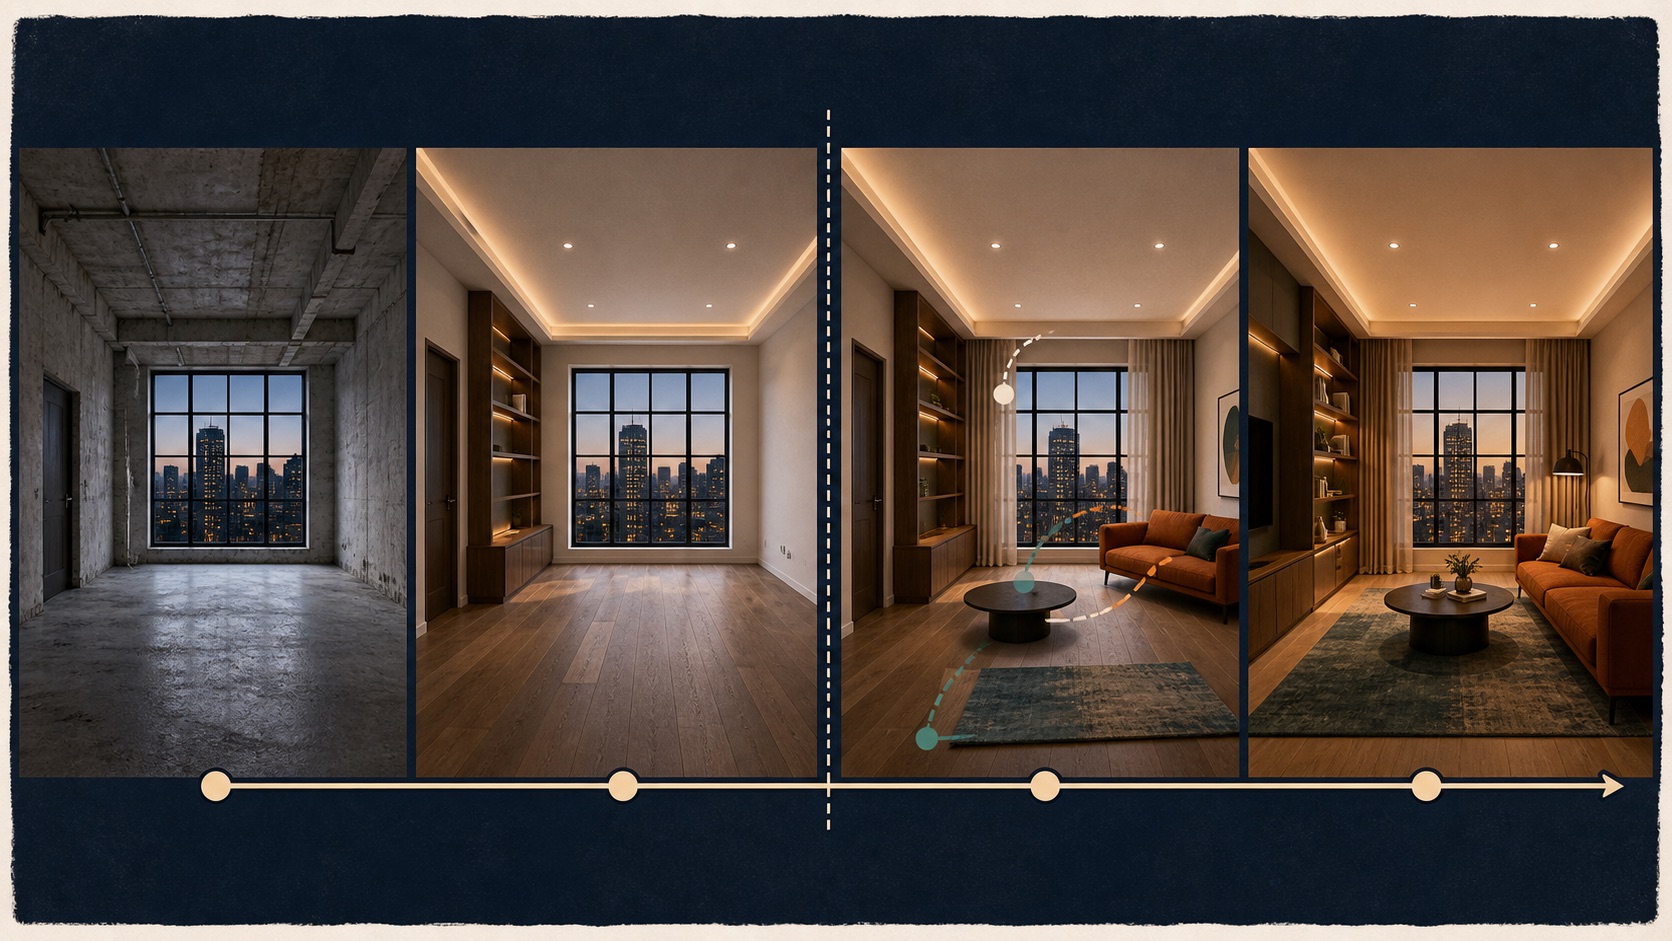
| Clip | Start state | What changes | End state |
|---|---|---|---|
| Clip 1: the shell | Bare but structurally correct room | Floor, wall finish, ceiling, fixed joinery, and lighting | A clean, finished but unfurnished room |
| Clip 2: the life | The end frame of Clip 1 | Sofa, tables, rug, curtains, plants, art, and styling | The approved final reference |
Keep the camera lock identical in both prompts. Let Clip 1 end on a stable, minimally furnished room, then begin Clip 2 from that same composition. Do not add a long final hold: reserve the last half-second for the completed reveal.
Short prompt for Clip 1
Locked camera, one continuous 5-second [SPACE TYPE] build sequence.
Start with the structurally correct bare room. First assemble the floor and wall
finishes; then install fixed joinery and lighting. Keep windows, doors, exterior
view, room geometry, focal length, and framing unchanged. Do not add loose
furniture, rugs, plants, art, or styling. Reach the finished unfurnished room
only in the final 0.5 seconds. No cuts, no people, no text, no camera movement.
Short prompt for Clip 2
Locked camera, one continuous 5-second [SPACE TYPE] styling sequence.
Begin with the finished unfurnished room from Clip 1. Add major furniture first,
then rugs and textiles, then lamps, plants, art, and small styling details.
Every object arrives separately along a believable path. Match the approved final
reference exactly by the last 0.5 seconds. No early completed state, no static
hold, no cuts, no people, no text, no camera movement.
Three fast adaptations
1. Apartment listing teaser
Use [SPACE TYPE] = contemporary apartment living room and [STARTING STATE] = bare concrete shell. Keep the clip at 16:9 if it will lead a property page, or make a second 9:16 version for social. The finished render should show a real, marketable view—not a collage of unrelated angles.
2. Hotel or hospitality reveal
Use [SPACE TYPE] = boutique hotel lobby. Add the exact fixture language from the image: pendants descend, reception joinery seats into place, and warm ambient lighting comes on last. Do not ask for “luxury” as a substitute for specifics; the reference image already defines what luxury means for that brand.
3. Café or retail concept presentation
Use [SPACE TYPE] = neighbourhood café interior and [STARTING STATE] = unfinished fit-out. Let floor finishes, counter joinery, seating, menu-free styling, and lighting install in that order. This works particularly well when the clip ends on the same hero view used in a proposal.
How to produce a usable first version
- Choose one clean final image. Avoid crowded collages, wide panoramas, or images with uncertain perspective.
- Write down what must not move. Windows, doors, camera crop, exterior view, and major structural lines belong in the locked section.
- Choose the duration honestly. Use the master prompt for a genuine 10-second image-to-video mode. For a five-second mode, start with the two-clip fallback instead of compressing the full story.
- Run one test before adding atmosphere. Evaluate structural accuracy and pacing before asking for more drama or faster motion.
- Fix the largest drift first. If the camera changes, strengthen the camera lock. If objects arrive together, reduce the number of actions in that clip. If furniture duplicates, strengthen the count and “no extras” instruction.
- Export for the destination. Make the horizontal listing version first, then adapt the crop and safe areas for vertical social placements.
A short quality checklist
- Does the final frame match the reference in camera angle and composition?
- Did every window, doorway, and exterior view remain unchanged?
- Are furniture counts and positions correct?
- Can a viewer see at least three clear stages of assembly?
- Does each object travel in a believable path rather than appearing from nowhere?
- Does the completed state arrive near the end, rather than halfway through the clip?
- Is the final hold brief—about half a second—rather than several seconds of static video?
- Does the final lighting match the reference instead of becoming generic “golden hour” light?
- Would a viewer recognize this as the same space shown in the original approved image?
Present the result honestly
This format is strongest as a concept visualization, design reveal, or marketing asset derived from an approved render. If it is not actual footage of a completed property, label it clearly as an AI-generated visualization or concept render. That protects the audience’s expectations and lets the video do the job it is best at: making a proposed or designed space easier to imagine.
The opportunity is not the prompt alone
The prompt is a production shortcut. The business opportunity is a repeatable service or workflow around it: turn approved renders into short, brand-safe motion assets quickly enough that designers, agents, developers, and hospitality teams can use them in their existing marketing flow.
Start with one room, one angle, and one audience. If the result holds the reference image accurately, you have a format worth repeating. Then build the library: living rooms, lobbies, bedrooms, kitchens, cafés, and retail spaces—each produced from the same reliable system.